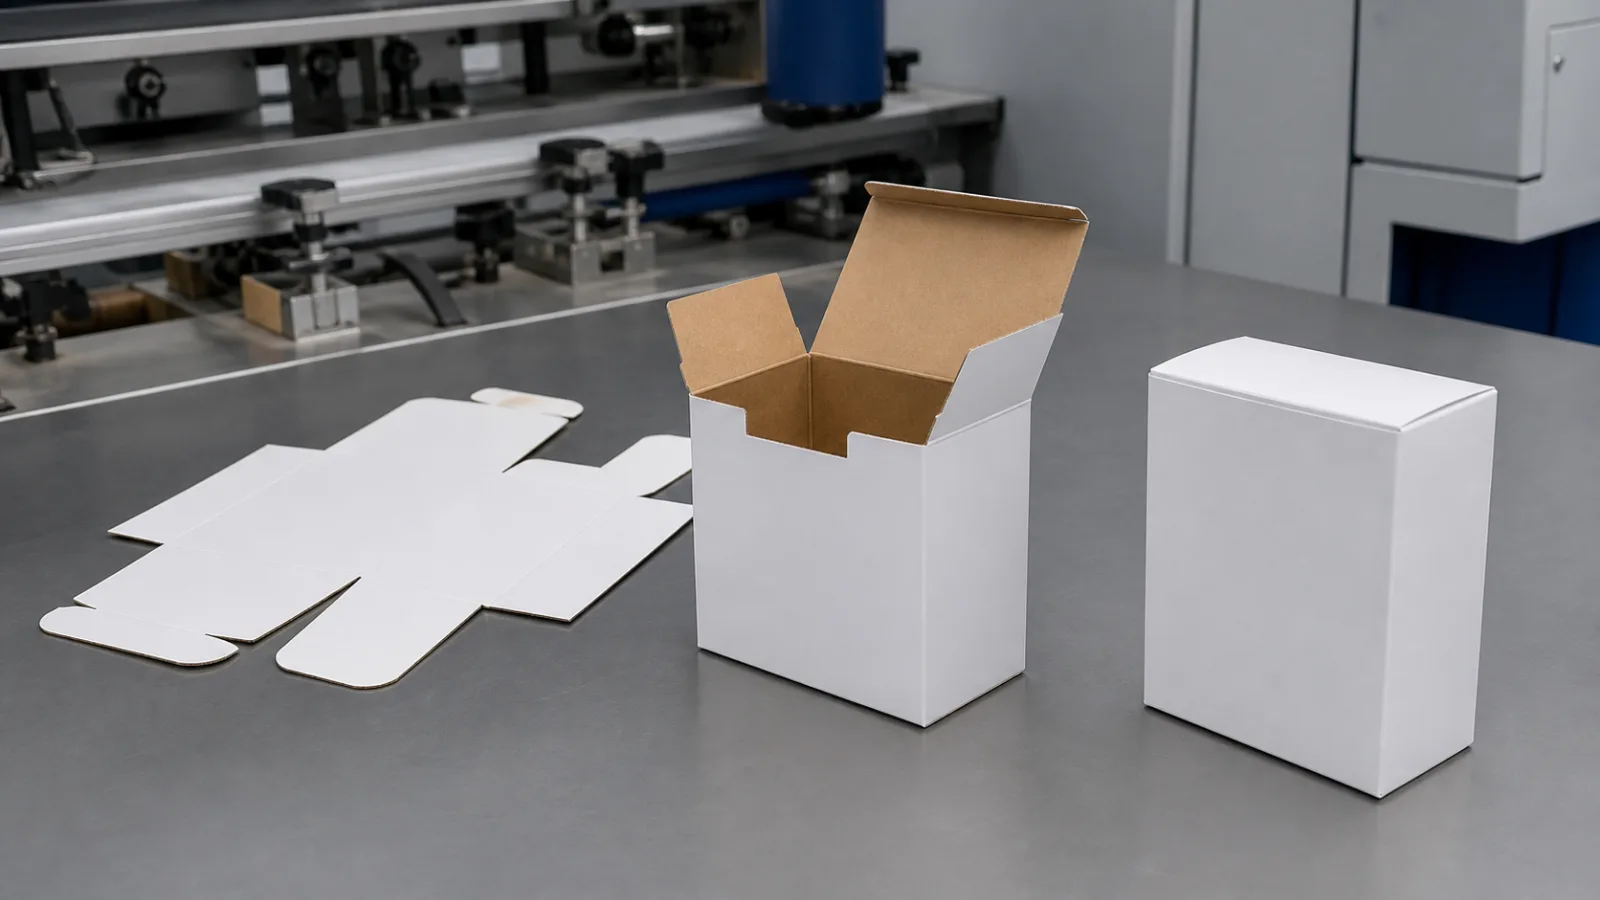


Folding carton crease cracking is rarely proof that one setting, material, or supplier is at fault. A crease is a deliberately damaged and locally weakened hinge in a layered paperboard structure. Its appearance after folding depends on the combined effects of board construction, grain direction, score geometry, print and coating layers, material condition, and the forces applied during die-cutting and folding.
The useful starting point is therefore not “make the score deeper” or “change the board.” First identify where the failure appears, when it first becomes visible, and which layer has actually failed. Then compare controlled samples while changing one defined factor at a time. This approach will not produce a universal tooling setting, but it can turn an intermittent appearance defect into a traceable production decision.
Start by classifying the crack and the process stage
Record the first process stage at which the defect can be seen:
- immediately after creasing or die-cutting;
- after the first manual fold;
- during folder-gluer operation;
- after packing, compression, or distribution handling; or
- only after a period of storage.
This timing matters. Damage visible directly after die-cutting may point toward creasing severity, board condition, or tooling setup. A defect that appears only after folding may be linked to the strain imposed by the final fold angle, crease direction, carton geometry, or a surface layer that cannot accommodate the bend. Damage emerging after packing may indicate that a previously marginal crease is being loaded repeatedly or compressed in a way not represented by a single hand fold.
Inspect both sides of the crease under consistent lighting and, where practical, with magnification. Describe the defect rather than assigning a cause too early. Useful observations include:
- Is the failure on the printed, coated, or unprinted face?
- Is it on the rule side or the reverse, bead side of the crease?
- Does it run continuously along the crease, occur at isolated points, or begin at corners and short-radius features?
- Is the visible defect a fractured varnish or ink film, a split in the board surface, exposed fibres, or separation between board plies?
- Does the crack change after repeated opening and closing?
These distinctions narrow the investigation but do not establish a root cause on their own. Paperboard creasing involves compression, shear, and tensile loading around the score. It can damage fibres and fibre bonds and can create local separation within a multilayer structure. The FAG CREASY technical presentation illustrates this mechanism: creasing reduces local bending stiffness to form a hinge, while damage and delamination may occur in the highly loaded area.
A board surface split, for example, may be made more visible by a brittle coating, but the coating is not necessarily the original cause. Conversely, a varnish film can fracture while the underlying board remains intact. Treat the visible line as evidence to classify, not as a diagnosis.
Check the board before changing tooling
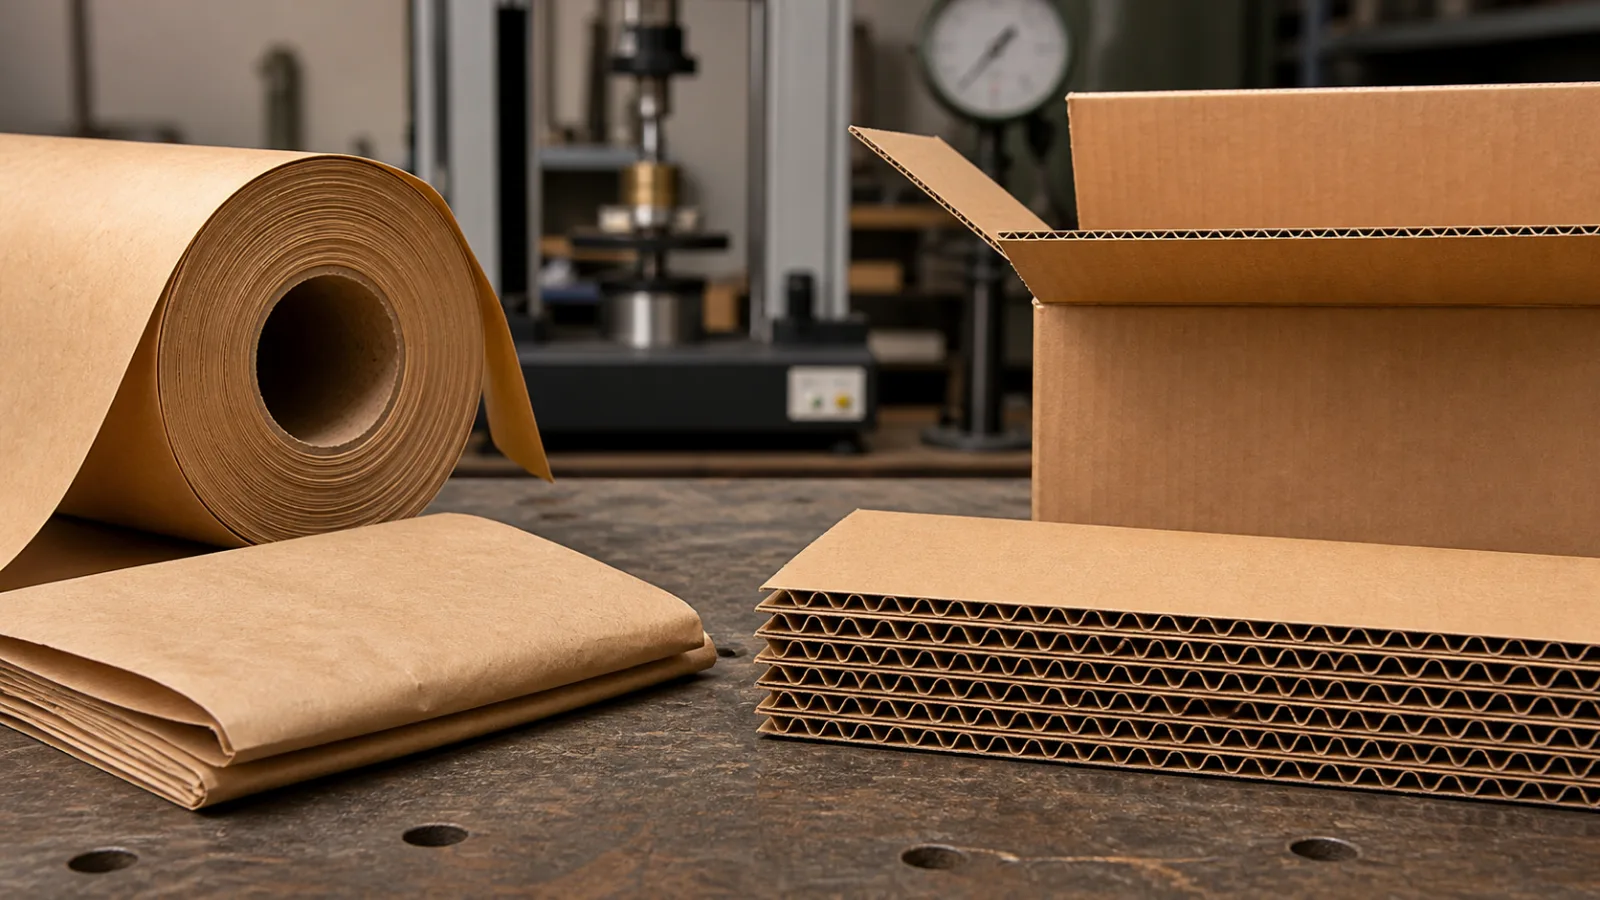
Board is anisotropic: its mechanical behaviour differs with fibre orientation. It is also often layered, with surface plies, middle plies, and adhesive or fibre-bonded interfaces that may respond differently under a crease. Caliper, stiffness, density profile, surface treatment, and construction can all affect how strain is distributed through the fold.
Before adjusting a die, identify the exact material used on the affected job:
- board manufacturer, grade, basis weight, and nominal caliper;
- reel, sheet, delivery, and lot identity where available;
- grain direction on the blank and the direction of each critical fold;
- coated, uncoated, laminated, embossed, or otherwise finished construction;
- print sequence, ink coverage, varnish, and curing method; and
- any approved substitution from the original specification.
Do not assume that a board with the same basis weight behaves the same way as another grade. Two boards can have similar nominal thickness yet differ in ply structure, density distribution, bending stiffness, surface strength, or response to compression. Likewise, a result on one folding carton design may not transfer to another with a narrower panel, shorter flap, tighter reverse fold, or different crease orientation.
Grain direction should be treated as a trial variable, not a universal remedy. Folding with or across the grain changes bending response and surface strain, but the practical result depends on the board construction and fold design. A grain direction that performs acceptably on a broad main panel may be less satisfactory on a short tuck flap or a reverse fold. Confirm the board supplier’s grade-specific guidance and evaluate the actual blank layout before changing imposed grain direction.
Layered-board research supports the broader point that material failure and interlayer separation are distinct mechanisms during folding. The abstract on damage and delamination in corrugated board is useful background for understanding layered structures, but it should not be used to predict the performance of a particular cartonboard grade.
Assess rule, channel, and make-ready as one system
The rule, channel, counterforce, make-ready condition, board caliper, and desired fold must be matched. Changing a rule or channel in isolation can shift the problem rather than solve it.
An insufficient crease may leave too much resistance at the intended hinge. Folding then forces the board to bend over a broader or less controlled area, which can create tensile cracking on the outside of the fold. An excessively severe crease may damage the reverse side, break surface fibres, or create excessive internal disruption before the carton reaches the folder-gluer.
The distinction is important because both under-creasing and over-creasing can be associated with cracking, but they call for different investigation. Do not infer that a deeper score is automatically safer.
A study summary on creasing severity and reverse-side cracking reported that cracking increased sharply after a critical penetration depth in the investigated samples. It also reported that a wider rule-and-channel clearance shifted that critical depth under those test conditions. This supports a controlled comparison of crease severity and tooling geometry. It does not establish a universal penetration depth, clearance, or acceptance limit for all cartonboards.
For each affected crease, record the actual tooling and setup rather than broad labels such as “standard score”:
| Variable | What to record | Why it matters |
|---|---|---|
| Board | Grade, caliper, lot, grain direction | Tooling response depends on the actual construction and thickness |
| Crease rule | Width, height, profile, wear condition | Determines the local loading applied to the board |
| Channel or matrix | Width, depth, profile, condition | Controls how the board is supported and displaced |
| Make-ready | Materials, thickness, position, condition | Can alter local pressure and crease consistency |
| Crease orientation | Direction relative to grain and fold | Affects bending response and visible surface strain |
| Fold requirement | Fold angle, reverse fold, repeated fold cycle | Defines the actual use load, not merely the die-cut condition |
Inspect rule wear, matrix condition, debris, local packing variation, and registration between the rule and channel. A defect that occurs at one position across a sheet, only on one repeat, or only at a specific carton feature may indicate a local setup issue rather than a whole-board limitation.
Follow the die-cutting equipment manufacturer’s operating limits and the die supplier’s procedures when changing tooling or pressure. A diagnostic trial should remain within approved setup boundaries; it is not a reason to make uncontrolled press adjustments.
Separate surface-film fracture from board failure
Print, coating, varnish, lamination, foil, embossing, and other finishes can change both the appearance and mechanics of a fold. A surface layer may crack before the board surface splits, particularly if the film is less extensible than the board beneath it. High ink coverage, heavy coating weight, or a build-up of multiple surface layers can make a minor board deformation highly visible.
Inspect the crease in stages. Compare an unprinted or uncoated control blank, where available, with printed and finished samples from the same board and tooling condition. If the control remains intact while only the finished sample shows a visible line, investigate the print and coating construction without assuming that the board is irrelevant. If both crack in the same location, the board and crease geometry remain central variables.
Ask the printer and finishing suppliers for the technical information specific to the materials used, including recommendations for folding, curing, overprint varnish, lamination, and any known limitations. Generic statements that a coating is “flexible” or “crack resistant” are not enough. Confirm the product grade, applied weight or film construction, substrate, cure condition, and intended fold requirement.
Magnified images can be particularly useful when shared among the printer, carton converter, board mill, and die supplier. Label each image with the sample identity, crease side, fold direction, print sequence, and inspection stage. Without that context, an image can document appearance but cannot reliably distinguish a coating fracture from board rupture or ply separation.
Control material condition and converting conditions
Paperboard condition can influence creasing and folding behaviour. Storage history, temperature, relative humidity, moisture balance, and time allowed for conditioning may all be relevant, especially when material has moved between substantially different environments. However, do not assign moisture as the cause without measured conditions or grade-specific supplier guidance.
The older IPPTA discussion of scoring properties identifies cracking as a known board-converting problem and discusses the relevance of board properties. It is useful as broad context, not as a current operating specification for modern cartonboard grades or pressrooms.
Review records for the affected production period:
- Compare the board lot, delivery date, reel or pallet position, and storage duration with unaffected material.
- Check whether material was conditioned according to the exact board supplier’s instructions.
- Review available pressroom temperature and relative-humidity records.
- Record die-cutting speed, stripping conditions, folder-gluer settings, and whether the defect changes with machine position or speed.
- Note whether the crease is folded immediately after die-cutting or after time for the blank to equilibrate.
A difference between deliveries may justify a conversation with the board supplier, but it does not by itself prove a material defect. Equally, a stable board specification does not rule out variation in tooling condition, press setup, curing, or fold geometry.
Run a controlled press trial
A useful trial is designed to answer a limited question. Avoid changing board, rule, channel, pressure, coating, and folder settings in the same run; that may improve the output but leaves the cause unknown.
Use a trial plan such as the following:
- Define the defect and acceptance criteria. Agree what counts as unacceptable: visible coating fracture at normal viewing distance, exposed fibres, a split exceeding a defined length, loss of carton integrity, or another customer-approved criterion.
- Select a baseline. Retain samples from the affected setup and document board identity, blank orientation, print construction, tooling, and machine conditions.
- Hold key variables constant. Keep the board grade and print construction unchanged when testing score geometry. Keep tooling unchanged when comparing material condition or finish construction.
- Change one defined factor. For example, compare approved rule-and-channel combinations, an alternative make-ready condition, or a different crease orientation in a test layout.
- Inspect at defined stages. Examine samples after die-cutting, after one controlled fold, after repeated folds where relevant, and after folder-gluer processing if that is where the defect emerges.
- Record the result consistently. Photograph both crease sides, count or measure crack extent using an agreed method, and retain labelled physical samples.
- Review limits before release. Confirm that the chosen setup meets the required appearance and functional criteria under representative production conditions, not only on a small early sample.
The cited creasing study quantified cracked length relative to crease length. Your operation may use a different approved inspection method, but a defined method is more useful than subjective descriptions such as “better” or “acceptable.” Record limitations as well: a short trial, one board lot, or hand-folded samples may not represent full production or distribution loads.
Involve the board mill when the issue persists across controlled tooling conditions or appears tied to a defined delivery. Involve the die supplier when the pattern points to rule, channel, wear, alignment, or make-ready. Bring in the printer, coating supplier, or laminator when the failure is limited to a surface construction. The carton converter should coordinate the evidence, because only the completed system shows whether the carton can be produced and used as specified.
A practical selection rule is simple: approve the crease condition that meets the required fold function and appearance on the specified board and finished construction, using documented tooling and representative converting conditions. Do not release a broader rule from one successful adjustment without confirming that it applies to the next grade, lot, carton design, and production setup.